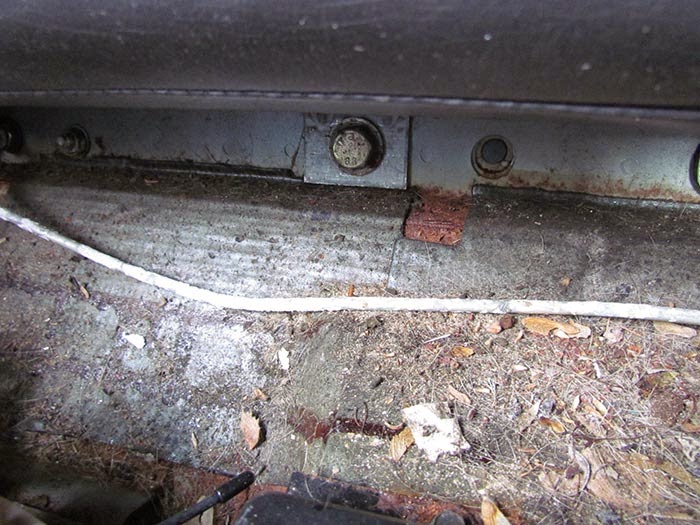
 Made some good progress on the sound deadening project over the holidays. Got the doors done.
Here's the passenger door after removing the interior door trim and the factory weather liner. You can dispose of the liner after you take it off, it won't be needed.
I wrote about removing the window regulators in order to lubricate them in an earlier post. I didn't take them out this time, but I did spray some lubricant into the mechanism while I had the door panel off. The driver's side is painfully slow, and I expect I'll have to take it apart (again) in the spring.
In the last post, I detailed the approach for sound deadening: use CLD tiles on sheet metal that resonates when you tap it, and then put a layer of mass loaded vinyl/closed cell foam (MLV/CCF) over the panel.
On most 'modern' cars, there is a side impact beam in the doors. The are places along the beam where the outside door skin can rattle against the beam. You can see the gap (green arrow) between the beam and the outside door skin/sheet metal.
We're going to stuff that gap with some Extruded Butyl Rope. This still is basically a cylindrical rope of sticky synthetic (butyl) rubber.
You can stretch it and it will maintain it's round (in cross-section) shape.
Here's the bottom edge of that same beam. In some places, I could stuff the rope behind the beam, and in some places I could stuff it right in the gap.
I did this on the top and bottom edges of the beam. The doors feel really solid after this!
You can also see one of the CLD tiles I put on the outer door skin. Before I did the tiles, you could tap the door and it would produce a ringing sound. After the tiles are attached, it just goes "dhunk" - no resonant sound at all.
Now we go down into The Dungeon and treat the inside of the interior door panel. Here I'm using hot glue to attach some CCF. There will be places on the panel that contact the MLV we'll be hanging on the door (see below) and the foam will act as a decoupler to stop vibration.
You have to love a car put together by actual people. Here's a date on the door panel - 11 June, 1991.
This is the inside of the passenger side interior trim panel. You can see where I glued the foam onto two places where the panel will contact the vinyl I'm about to install.
The white material is 3M Thinsulate. Don at Sounddeadenershowdown.com recommends stuffing any open gaps in the panel with this stuff. It absorbs sound and insulates.
I'm going to line the convertible top with it too.
Here's a door panel with CLD tiles installed - see all the green arrows. The idea is to cover about 25 percent of the surface.
I tapped the exterior and interior panels, listening for resonance (ringing). Then I put a tile on that panel. The tiles can be cut to any shape - you can see the different ones I cut to suit the space.
I had done a bunch of tiles and still had a ringing somewhere on the inside panel. Finally, I found a surface that was the culprit - see the circled area near the bottom. That slice of metal was like a little cymbal! Now the whole door is deadened.
Next I made up MLV-and-CCF panels to attach to the inside of the doors. I made these the same way as I had with the ones for the floor. These are hung with a few patches of heavy-duty velcro to hold them in place.
You can see there was a lot of hand trimming to make sure the interior panel would fit back into place easily. It took me a good 45 minutes to get the panel to fit properly. Once I had the passenger side done, I used it as a pattern for the driver's side, which went very quickly.
The doors now close with a fine thunk and feel super solid. So the floor and doors are done, and now I need to finish the back panels.
You can see why this level of deadening/insulation isn't done by the manufacturer. There is some minimal work done for sure, but this extreme level would just be too cost and labor prohibitive.


