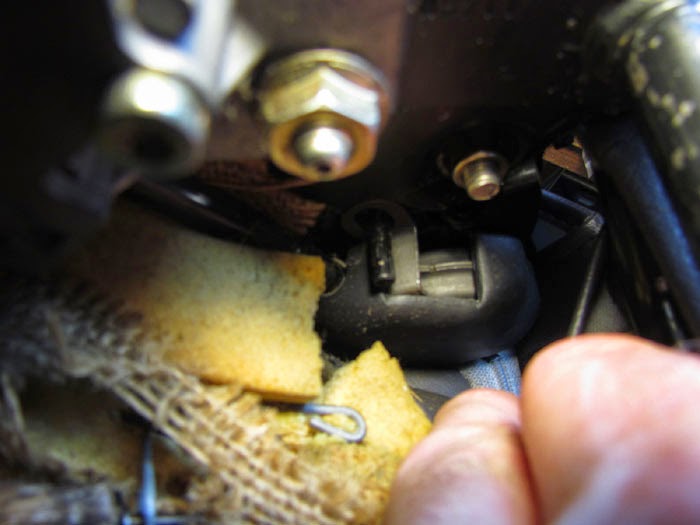
Turns out it has to be removed to give the drive enough clearance to be removed.
 The spring holds a lot of tension - it's a big part of how a human person is held up when sitting in the seat. Finally I remembered I had a smallish pry bar.
I used that, along with some fairly stout pliers to pull the spring hook off the seat bottom webbing. I undid some of the cross supports, and pulled the spring toward the center of the seat while pushing the side bar of the mesh outward.
It worked!
Then I could just pry the gearbox off the splined shaft, and remove it from the seat.
Success.
On the top you see the original, broken drive and housing. The one at the bottom is the replacement.
The inner cable slides right out of the housing. It would be easy to use some sort of steel conduit or even a heavy, thick-walled rubber hose to slide over the housing as a fix. I suspect it would work well.
But since I have a good replacement in hand, I'm not going to test that theory!
Replacement is straightforward. Slip the drive over the splined shaft on the seat. You can also see there is a locating pin on the seat frame - the drive housing slides over that.
You can also see the 8mm bolt that holds the housing onto the drive. I had yet to tighten it when I took this picture.
Last step is to put the plastic cover - the one marked "V" - back on.
I was wrong about the "V" being an arrow, by the way.
When I went to reconnect the drive back to the motor, I had to remove the cable on the other side. And in the process, I found that it too was broken!
Good thing I have a lifetime supply of these parts, huh?
Now that I had done one side, the second side was very easy.
This is the gearbox cover. You may recall my musing about the "V" stamped on the cover for the other side.
This one has a "H" instead of a "V." Ironically enough, Sven of Argapa Ukuleles had known right away what the "V" meant and emailed about it.
This "H" is for höger - Swedish for 'right.' And the "V" is for vänster - 'left.' Makes perfect sense to a native speaker. Thanks for educating me, Sven!
(Be sure to check out the amazing ukuleles he makes).
Since I knew what I was doing, the höger cable took a mere ten minutes.
Recall the seatback is still twisted at this point. I need to realign it so it will work properly - meaning that both sides will move in unison - before I connect the cables back to the motor.
I sat the seat on the floor and used a socket to drive each of the cables manually until the seatback was fully upright. There is a mechanical 'stop' where the seatback is upright. I just turned the cables until I reached that point.
I don't have any sockets smaller than 6mm, so I wound up using a 3/16 socket to match the square drive on the cables. Worked fine. I'd guess the cables are about 3mm, but anything close will work.
Oh. Here's one picture I wanted to throw in if you are contemplating this yourself. (Out of order in terms of the reassembly but there you have it). The green arrow points to the spline drive on the seat mechanism. I referred to it a number of times, and this is it.
The mating spline gear in the gearbox housing slips over it.
Now we can connect the cables back to the motor.
I had a hard time pulling the cable ends upright off the motor and the clips that hold the cables onto the motor mounting plate. The cables go into the motor horizontally, so it's difficult to pull them out.
It dawned on me that the proper way to connect - or disconnect - them would be to unbolt the motor from the plate it's mounted on.
In the picture above, you can see me using an 8mm wrench to remove the 2 bolts for the motor. (Note to self: Wouldn't this have been easier with a ratcheting wrench?)
In that same picture above, the red arrow points to one side of the motor where the drive cable enters the housing. There is another cable connection on the other side. The two green arrows are the clips that hold the ends of the cable drive housings.
Here's the motor up off the mounting plate, with the two cable drive ends slipped onto the motor. The red arrows point to the two ends of the cables.
We just push the cable ends down onto the clips and the cables are held in place. Then we bolt the motor back down and the replacement of the cables is done!
Now we'll remove the bottom seat cover to (hopefully) repair the places where the cover has come apart from the rod and has made the cover lie flat instead of following the contour of the seat cushion.


I am grateful for your excellent layout of this repair. I sleeved my broken cable housing with a stiff plastic rubber hose and expect it to work. Thanks again Curt
ReplyDeleteNice Blog Post !
ReplyDelete