I wanted to take care of a few things at once: the clock isn't keeping time (losing 6 hours a day!), the trim around the fascia/dashboard has pulled away in a couple of places, and I also want to service the instrument light dimmer.
What this means is I need to take out the fascia and the instruments themselves.

There are four long bolts that hold the fascia to the dash. Two are on the left side of the steering wheel; you see them here.
Later cars (this one is a 1991) use Torx fasteners - these bolts are T15s.
Keep the bolts in order as you remove them. They are 4 different lenghts - they are also marked with rings to identify them (I'll get some pictures later).


You may read in the factory manual or elsewhere that the steering wheel must be removed. Not so. There's plenty of clearance with the steering wheel in place.
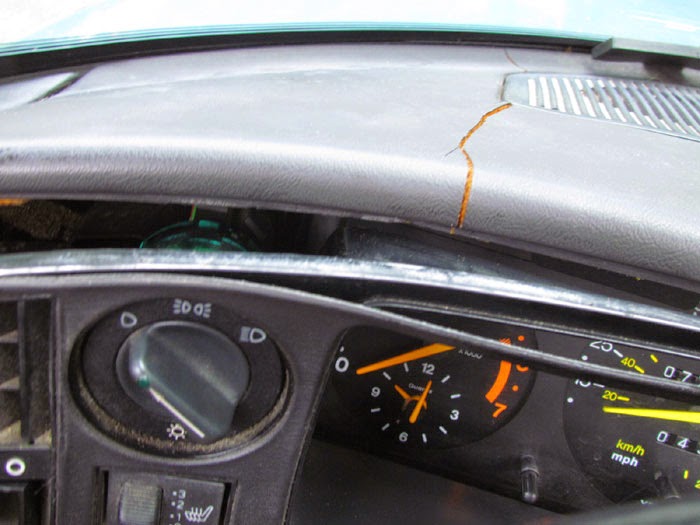
You can see that trim piece I need to reattach. I'm tired of looking at it hanging off like that.

Here's the view through the DIN slot for the radio.
The screwdriver is pointing to the heater control rod. That needs to be disconnected.


There's a gold-colored clip that holds the connector to the body of the direction control. Just push back the top of the clip.

The vacuum direction control is one of the things I love about old 900s. It's so much fun to switch the knob and hear the 'click-whir-whoosh' of the vacuum in the lines and the different flaps opening and closing.
I love using it, but I wouldn't have to troubleshoot all the lines. Fortunately, in the four 900s I've owned, that system has been very, very reliable.


In the picture above, the red arrow points to one disconnected switch - in this case it's the fan speed switch. You can see the mating connector tabs below it.
The yellow arrows point to some of the other connectors that need to come off. The switches will slide out from the front if you need better access to their connectors.
The best advice I can give you at this point is: label everything! And gently but firmly pull and wiggle connectors to get them out. If they are hard to disconnect, you may be able to use a small screwdriver as a lever to separate them.

With everything disconnected, the whole fascia/panel comes right out.
Remember: this car was built largely by hand. Yes, it was put together on an assembly line, but it was hand-assembled for the most part. That means it's relatively easy to take apart!
Next we'll get the instrument panel out.
Do you recall the sequence the 4 fascia screws go in, from left to right? I can't find that information anywhere online!
ReplyDeletei put them in from left to right of a right hand drive model, found the one nearest the headlight switch as the most time consuming...
Delete