 Continuing on with the Mini-Booster build. After stuffing the board, I wired the off-board leads to the input and output jacks, the pots, and the switch.
I decided early on to add a tone control to this puppy, and the circuit is Jack Orman's modified BMP. I built the "New AMZ" version, but I do want to try the second variation at some point.
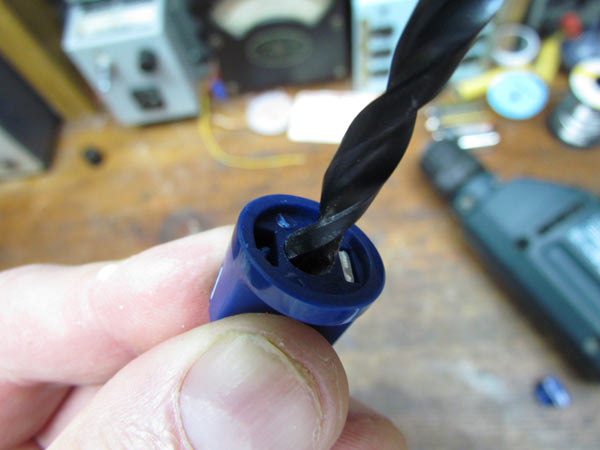
I knew it would be a tight fit, and it was. I need to recalibrate my thinking when I do stompboxes. I'm used to using high-voltage capacitors and full-size (say 24mm or so) potentiometers, and I keep those "in stock." Now I need to get more small (16mm) pots and low-voltage caps. I have some, but most of the ones I bought are 63 or 100 volts, and those are a bit too big. These circuits generally don't need caps rated that high.
Anyway, I put the board in the box and wired it up to test and it worked fine. You can see the test stage in the picture at the top. Looks like a mess, but the leads will get trimmed and tidied up.

This is a clean boost, and I found with the volume up all the way, it would distort. I'm trying to avoid distortion in this build - I just want a bump in gain. I have other boxes for distortion.

I had a setback. After I had the whole thing together, I discovered I had scraped up the paint on the box in a few spots when I was tightening the nuts for the pots. It bugged me so much I decided to repaint the box.
What I did was unbolt the pots and jacks and drop the whole assembly out. That's what we have here. I should be able to just drop it back in after the repainting is done.
And I need to be very careful on the reassembly!
No comments:
Post a Comment